Building a Custom Job
This guide provides a comprehensive example of building and implementing a Custom Job Scheduler to execute specialized Apex logic.
Step 1: Create the Apex Class
You can easily generate the groundwork for your custom scheduler job using the built-in generator.
- Navigate to the Breezz App → Breezz Setup → Scheduler Jobs → Generate Scheduler Code.
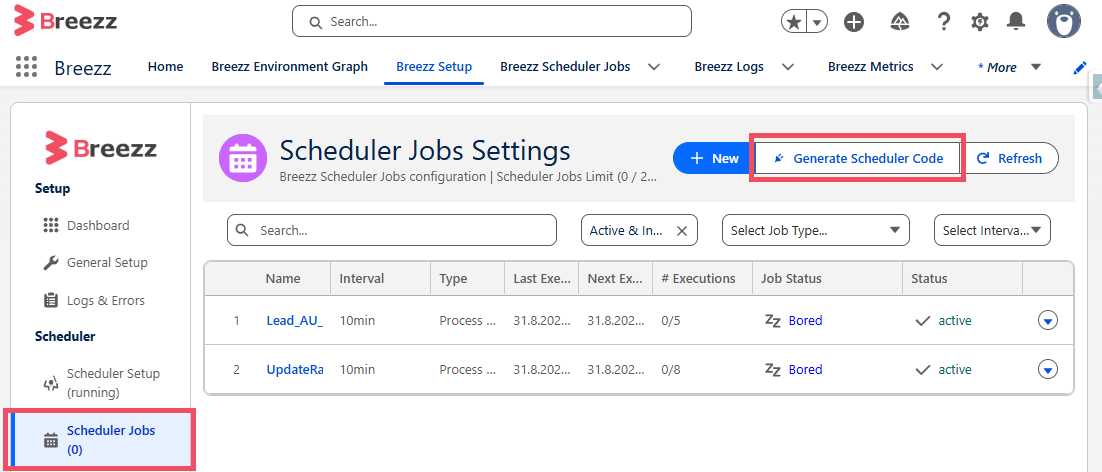
- Select Custom as the Job Type, provide a class name, and copy the generated code to your IDE or Developer Console.
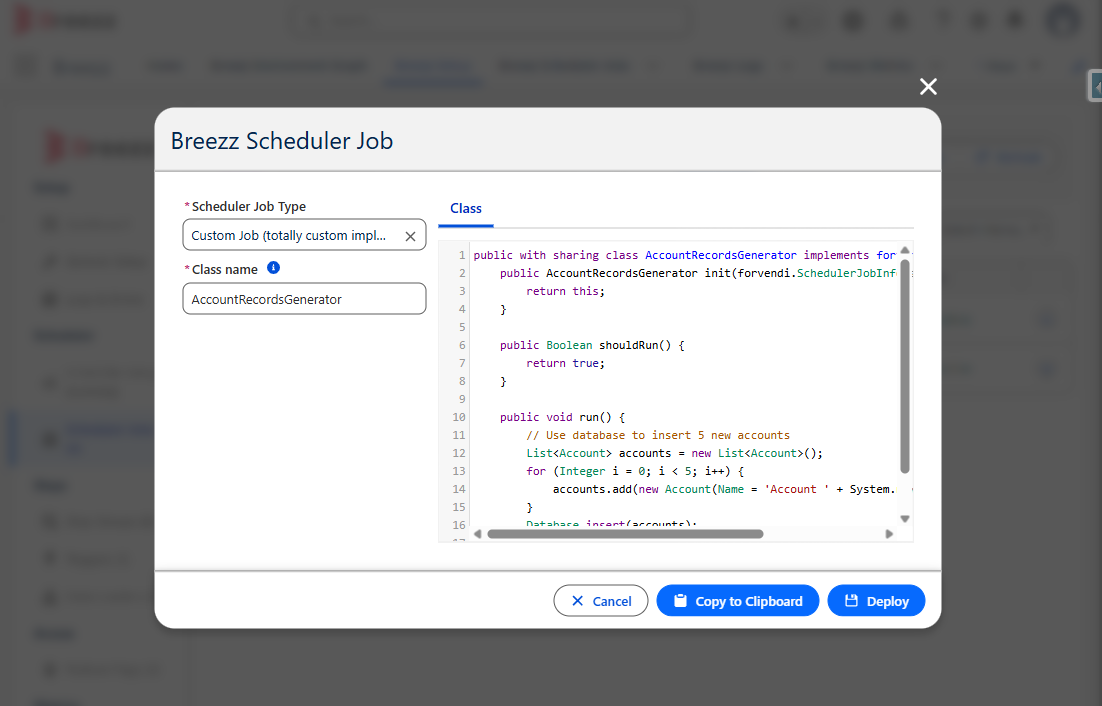
Below is an example of a simple job that executes every 30 minutes to create 5 Account records:
public with sharing class AccountRecordsGenerator implements forvendi.SchedulerJob {
    public AccountRecordsGenerator init(forvendi.SchedulerJobInfo schedulerConfig) {
        return this;
    }

    public Boolean shouldRun() {
        return true;
    }

    public void run() {
        // Use database to insert 5 new accounts
        List<Account> accounts = new List<Account>();
        for (Integer i = 0; i < 5; i++) {
            accounts.add(new Account(Name = 'Account ' + System.now() + ' | Number ' + i));
        }
        Database.insert(accounts);
    }
}
Class Requirements:
Any class used as a Custom Scheduler Job must implement the forvendi.SchedulerJob interface and define the following three methods:
init(): Returns the instance of the class and handles any initial configuration.shouldRun(): Evaluates conditions to determine whether the job logic should be executed.run(): Contains the core logic of your job.
Step 2: Create the Test Class
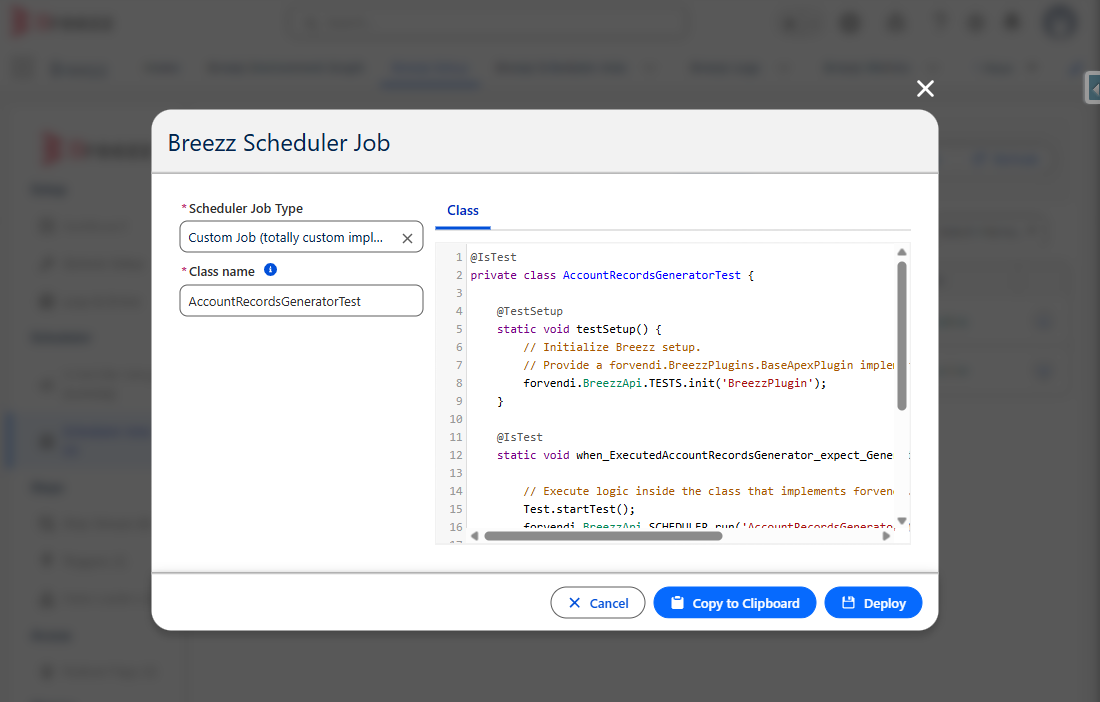
Ensure your custom logic is covered by a test class.
@IsTest
private class AccountRecordsGeneratorTest {

    @TestSetup
    static void testSetup() {
        // Initialize Breezz setup.
        // Provide a forvendi.BreezzPlugins.BaseApexPlugin implementation to use public classes in Breezz.
        forvendi.BreezzApi.TESTS.init('BreezzPlugin');
    }

    @IsTest
    static void when_ExecutedAccountRecordsGenerator_expect_GenerateAccounts() {

        // Execute logic inside the class that implements forvendi.SchedulerJob
        Test.startTest();
        forvendi.BreezzApi.SCHEDULER.run('AccountRecordsGenerator');
        Test.stopTest();

        // Load records and assert expectations
        List<Account> accs = forvendi.BreezzApi.TESTS.loadAllRecords(Account.getSObjectType());
        forvendi.BreezzAPI.TESTS.assertErrorLogs();

        Assert.isNotNull(accs);
        Assert.isTrue(accs.size() > 0);
    }
}
Step 3: Register the Scheduler Job
After successfully deploying your classes, you must configure the Scheduler in the application.
- Navigate to Breezz Setup → Scheduler Jobs and click New.
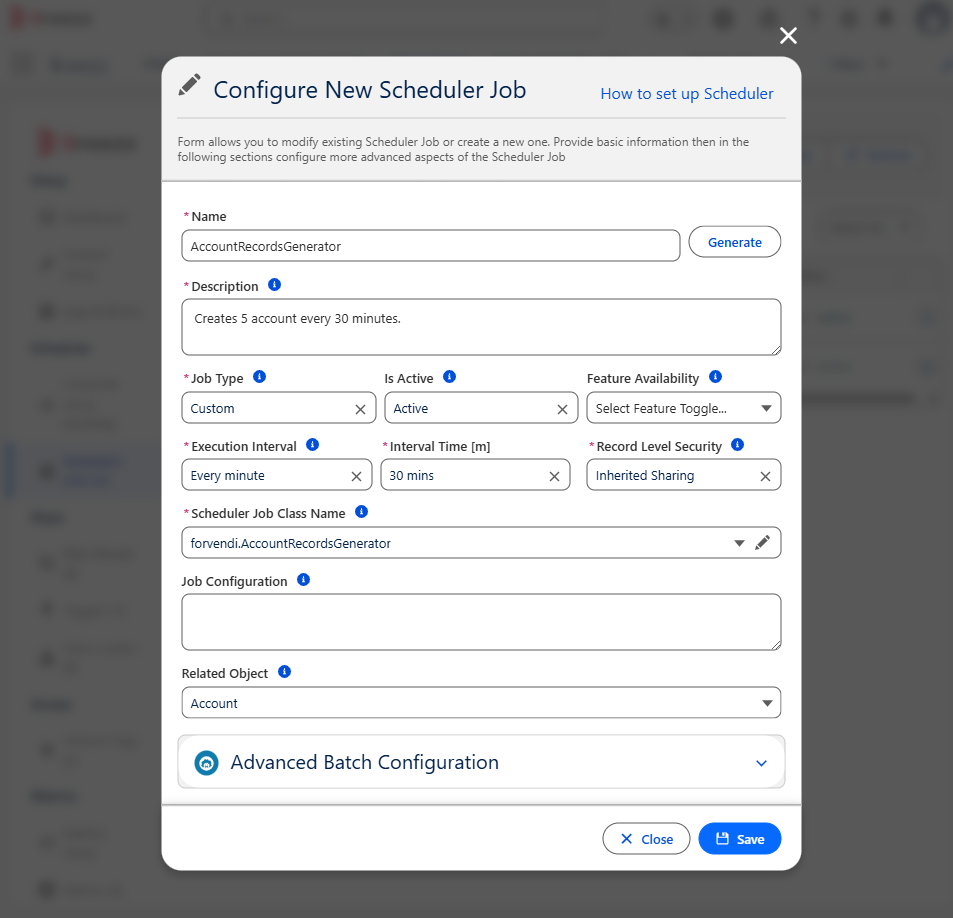
- Populate the configuration form with the following details:
- Name: Provide a clear identifier for the Scheduler Job.
- Description: Enter an explanation of the job’s functionality.
- Job Type: Select Custom.
- Execution Interval: Define when the scheduler should execute (e.g., 30 minutes).
- Apex Class: Select the class you created that implements
forvendi.SchedulerJob.
After filling out all required fields, click Save.
Step 4: Verify the Scheduler Job
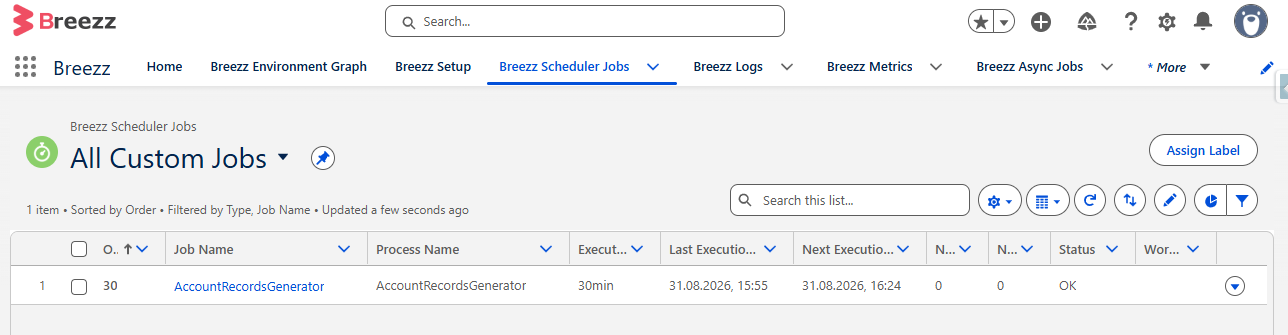
To confirm that the scheduler was created successfully, navigate to the App Launcher → Breezz → Breezz Scheduler Jobs → All Custom Jobs.
You should see your new Scheduler record listed here: